
To start, prepare a strip of fabric 8" wide and the exact length of the width of your quilt.
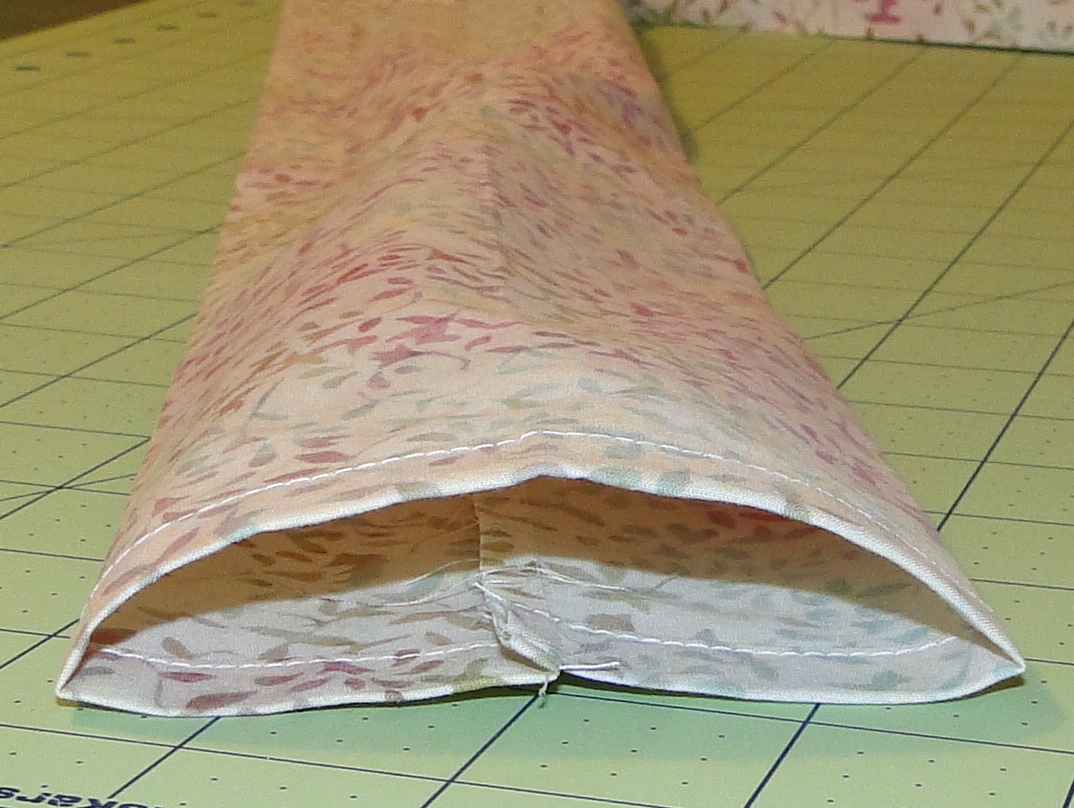
Turn under the ends about 3/8" to 1/2" twice and press. Stitch the folded ends.
 |

Fold the strip in half lengthwise, wrong sides together, and press.

Open up the strip and fold both sides of the strip toward the center fold. The edges of the sides of the strip should meet that center fold and not overlap it. Press the folds.


Now you have a D-shaped tube. Press the seam to one side, maintaining the outside folds. This is important.
And, voila! Your sleeve is ready to be sewn or pinned to the back of your quilt.
To attach your sleeve, position it, seamed side down just below the binding, centered on your quilt. Hand stitch or pin in place along the 2 folds that form the D-shape.
Now hang 'er up and enjoy.
No comments:
Post a Comment
Thanks for your comments!